


最新下载


热门教程
- 1
- 2
- 3
- 4
- 5
- 6
- 7
- 8
- 9
- 10
CocosCreator实现划过的位置显示纹理代码示例
时间:2021-04-14 编辑:袖梨 来源:一聚教程网
本篇文章小编给大家分享一下CocosCreator实现划过的位置显示纹理代码示例,文章代码介绍的很详细,小编觉得挺不错的,现在分享给大家供大家参考,有需要的小伙伴们可以来看看。
1、项目需求
项目需要有一个功能:是当一个光点走过的路径,这个路径的位置就都亮起来的功能。
2、资料内容
功能类似这位大神的橡皮擦功能:https://forum.cocos.org/t/2-0-8/74246
但是,项目的需求还要经过的路径周围有模糊的外边——也就是从中心到边缘越来越暗。
所以对于借鉴了网上大神的shader例子,类似以下的示例:
在大神的肩膀上做了一些改动,来实现项目的需求。
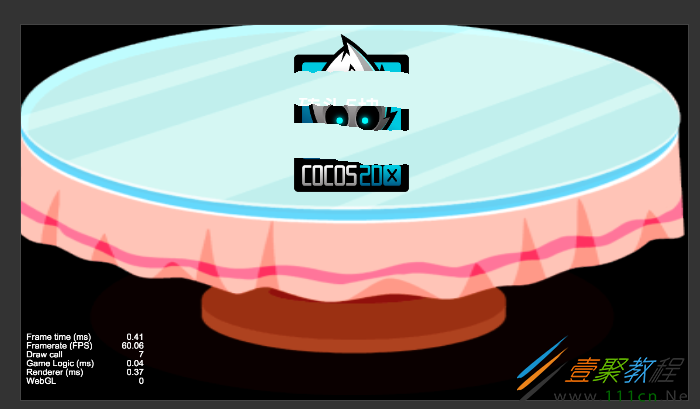
3、项目示例
以下是测试项目的示例:
4、项目代码
SliderPointLight.ts
const {
	ccclass,
	property
} = cc._decorator;


@ccclass

export default class Follow_spot extends cc.Component {

	@property(cc.Node)

	bg: cc.Node = null;

	material: cc.Material = null;

	center: number[] = [0.5, 0.5];

	testArr: number[] = [];


	onLoad() {

		this.material = this.bg.getComponent(cc.Sprite).getMaterial(0);

		this.material.setProperty('wh_ratio', this.bg.width / this.bg.height);

		this.material.setProperty('center', this.center);


		//js 中最重要是这一句,这里参数是数组长度*数组里向量的维度

		this.material.setProperty('colorArr', new Float32Array(400));

		//这里设置的时候需要把数组里向量的分量展开到一个一维数组

		this.material.setProperty('colorArr', []);


		this.bg.on(cc.Node.EventType.TOUCH_MOVE, this.touchMoveEvent, this);

	}


	touchMoveEvent(evt: cc.Event.EventTouch) {

		this.center[0] = evt.getLocation().x / this.bg.width;

		this.center[1] = 1 - evt.getLocation().y / this.bg.height;

		console.log(this.center);

		this.material.setProperty('center', this.center);

		if (this.testArr.length >= 400) {

			this.testArr.shift();

			this.testArr.shift();

		}

		this.testArr.push(this.center[0]);

		this.testArr.push(this.center[1]);


		//js 中最重要是这一句,这里参数是数组长度*数组里向量的维度

		this.material.setProperty('colorArr', new Float32Array(this.testArr));

		//这里设置的时候需要把数组里向量的分量展开到一个一维数组

		this.material.setProperty('colorArr', this.testArr);

	}

}


SliderPointLight.effect


CCEffect % {

		techniques:

			-passes:

			-vert: vs

		frag: fs

		blendState:

			targets:

			-blend: true

		rasterizerState:

			cullMode: none

		properties:

			texture: {
				value: white
			}

		wh_ratio: {

			value: 1.78,

			editor: {

				tooltip: "宽高比"

			}

		}

		blur: {

			value: 0.35,

			editor: {

				tooltip: "光圈模糊程度"

			}

		}

		radius: {

			value: 0.5,

			editor: {

				tooltip: "光圈半径"

			}

		}

		center: {

			value: [0.5, 0.5],

			editor: {

				tooltip: "光圈起点"

			}

		}

		colorArr: {
			value: [0.5, 0.5, 0.5, 0.5]
		}

	} %


	CCProgram vs % {

		precision highp float;


		#include

		#include


		in vec3 a_position;

		in vec4 a_color;

		out vec4 v_color;


		#if USE_TEXTURE

		in vec2 a_uv0;

		out vec2 v_uv0;

		#endif


		void main() {

			vec4 pos = vec4(a_position, 1);


			#if CC_USE_MODEL

			pos = cc_matViewProj * cc_matWorld * pos;

			#else

			pos = cc_matViewProj * pos;

			#endif


			#if USE_TEXTURE

			v_uv0 = a_uv0;

			#endif


			v_color = a_color;


			gl_Position = pos;

		}

	} %


	CCProgram fs % {


		precision highp float;


		#include


		in vec4 v_color;


		#if USE_TEXTURE

		in vec2 v_uv0;

		uniform sampler2D texture;

		#endif


		uniform ARGS {

			float radius;

			float blur;

			vec2 center;

			float wh_ratio;

		};


		//effect定义

		uniform Metaball {

			vec4 colorArr[100];

		};


		void main() {

			vec4 o = vec4(1, 1, 1, 0);

			o *= texture(texture, v_uv0);

			o *= v_color;

			float circle = radius * radius;

			for (int i = 0; i < 100; i++) {

				float colorX = colorArr[i].x;

				float colorY = colorArr[i].y;

				float rx = colorX * wh_ratio;

				float ry = colorY;

				float dis = (v_uv0.x * wh_ratio - rx) * (v_uv0.x * wh_ratio - rx) + (v_uv0.y - ry) * (v_uv0.y - ry);


				o.a = smoothstep(circle, circle - blur, dis) + o.a;

			}


			gl_FragColor = o;

		}

	}%
相关文章
- SpringBoot测试配置属性与web启动环境解析 10-24
- SpringBoot常用计量与bean属性校验和进制数据转换规则解析 10-24
- 工厂方法在Spring框架中的运用介绍 10-24
- SpringBoot热部署设置详解 10-24
- JavaScript二叉搜索树构建操作解析 10-12
- JavaScript二叉树及各种遍历算法讲解 10-12