


最新下载


热门教程
- 1
- 2
- 3
- 4
- 5
- 6
- 7
- 8
- 9
- 10
Windows服务器安装MySQL5.6.26图文教程
时间:2016-05-20 编辑:简简单单 来源:一聚教程网
下载MySQL5.6.26
下载MySQL的URL地址如下。
http://www.mysql.com/
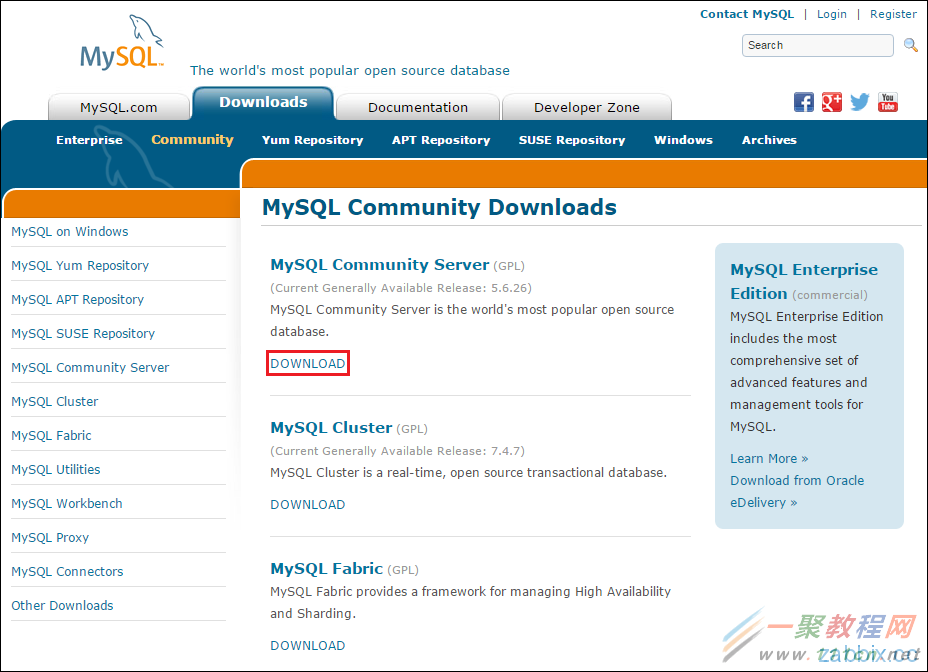
点击「Downloads」。

点击「MySQL Community Edition (GPL)」下的「Community (GPL) Downloads」。

点击「MySQL Community Server」下的「DOWNLOAD」。
这次是使用Windows环境因此「Select Platform」选择「Microsoft Windows」,点击「Windows (x86, 32-bit), MySQL Installer MSI」的「Download」。
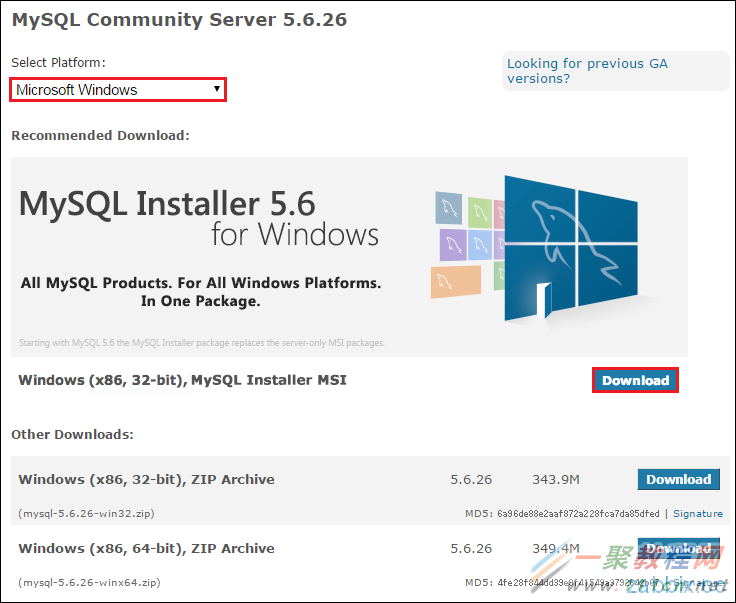
显示下载页面,貌似「Note: MySQL Installer is 32 bit, but will install both 32 bit and 64 bit binaries.」Windows32位和64位使用同一个文件。「Windows (x86, 32-bit), MSI Installer」的
「Download」。

显示MySQL.com的登录页面,在这里也可以进行注册。但是这次不进行注册只进行下载。点击「No thanks, just start my download.」。

点击「保存」。

把MySQL5.6.26保存到任意的目录下,就完成下载步骤了。
1) 安装MySQL5.6.26
双击下载的「mysql-installer-community-5.6.26.0.msi」文件,并点击「运行」。

显示如下准备中的页面。

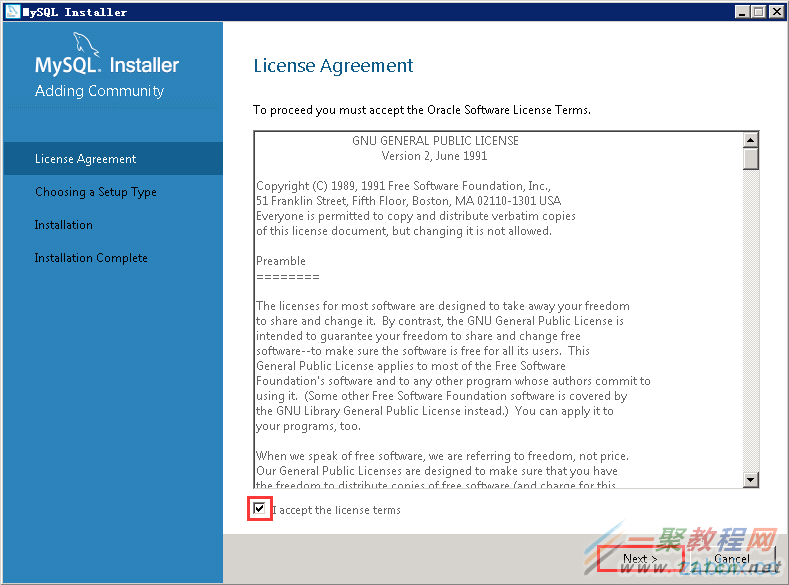
勾选「I accept the license terms」后,点击「Next」。
安装类型选择「Full」,并点击「Next」。

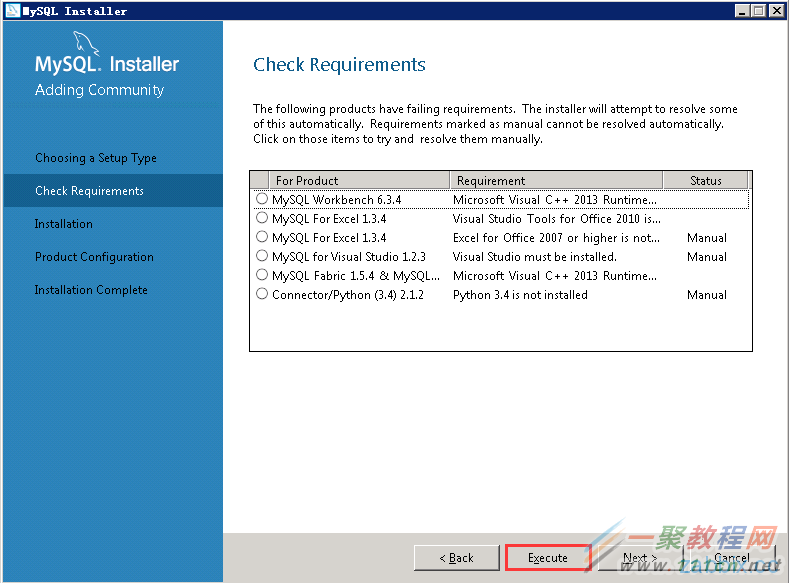
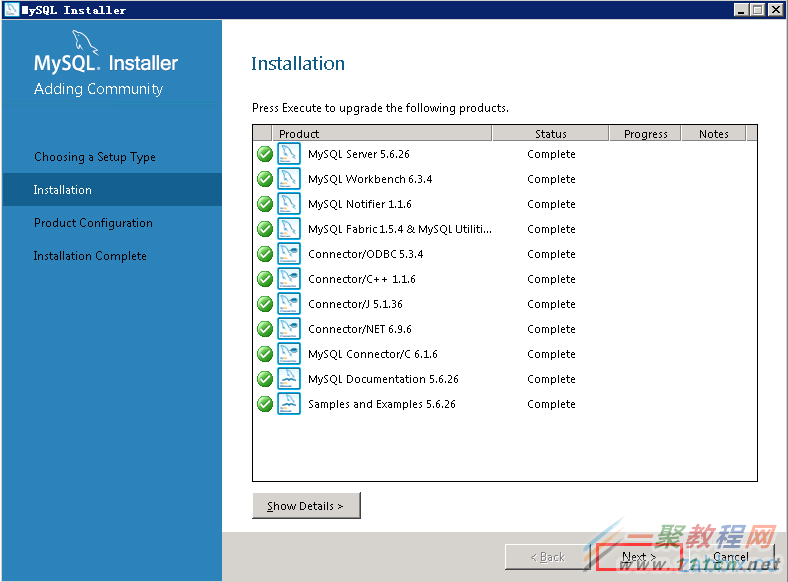
显示Full安装MySQL时的所需的产品一览,要使用在这里显示的功能的话,安装MySQL以后安装所需产品。在这里点击「Excute」。

接下来安装「Microsoft Visual C++ 2013 Redistributable(x64)」及「Microsoft Visual Studi Tools for Office Runtime 2010」。
安装Microsoft Visual C++ 2013 Redistributable(x64)
显示安装「Microsoft Visual C++ 2013 Redistributable(x64)」的页面,勾选「I agree to the license terms and conditions」后点击「Install」。

点击「Close」,完成「Microsoft Visual C++ 2013 Redistributable(x64)」的安装。

安装Microsoft Visual Studi Tools for Office Runtime 2010
显示「Microsoft Visual Studi Tools for Office Runtime 2010」的安装页面。勾选「I have read accept the license terms.」并点击「Install」。

点击「Finshi」,完成安装。

「Status」为「Manual」后期手动安装,在这里点击「Next」。
点击「Yes」。

点击「Excute」。

点击「Next」。
2) MySQL5.6.26初期配置
对以安装的MySQL进行初期配置,点击「Next」。
配置MySQL Server5.6.26

在这里把MySQL作为服务器使用,因此「Config Type」选择「Server Machine」。

TCP/IP的端口使用默认的3306,并勾选「Show Advanced Options」后,点击「Next」。

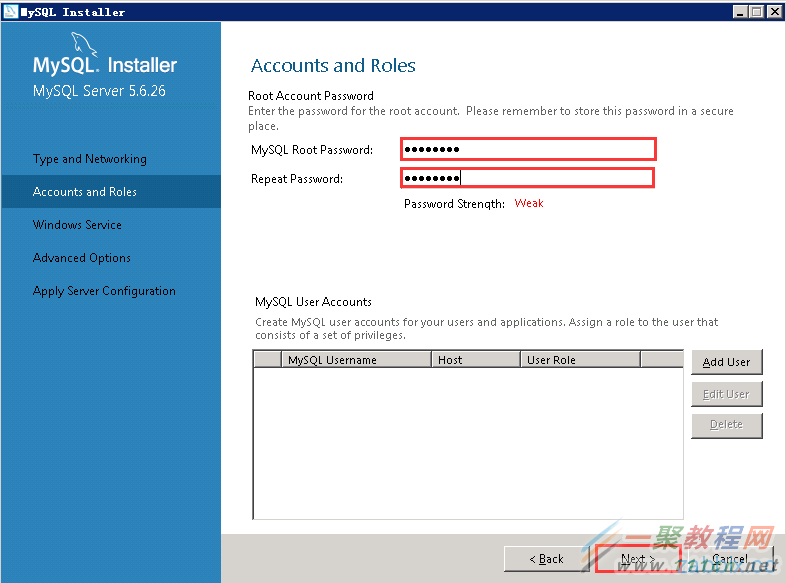
设定MySQL root用户的密码,并点击「Next」。在这里不添加MySQL其他用户。
显示是不是以Windows服务启动MySQL的设定页面。

以Windows服务启动MySQL时勾选「Start the MySQL Server at System Startup」,而MySQL的Windows服务名使用默认的MySQL56。
并配置启动MySQL56服务的Windows用户名,指定用户名时选择「Custom User」。在这里使用默认设定。
完成设定以后点击「Next」。
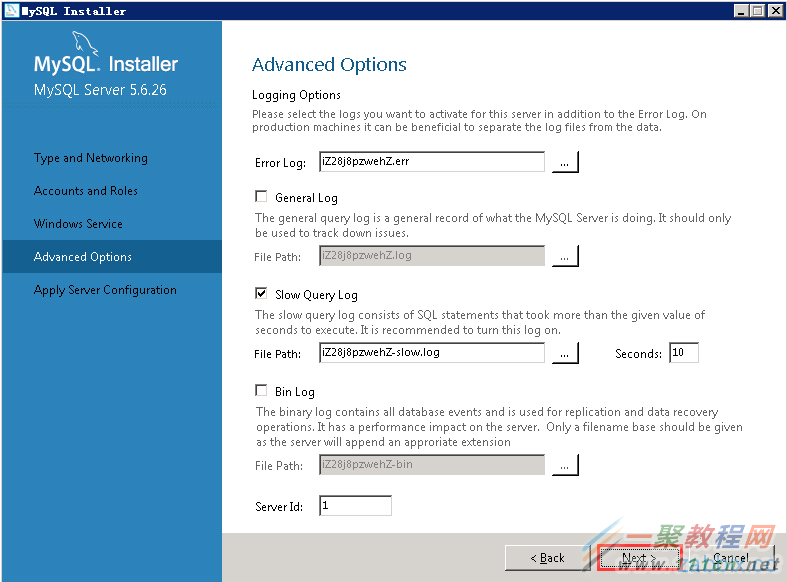
显示MySQL日志相关的配置页面,在这里使用默认设定,点击「Next」。
确认MySQL设定内容之后,点击「Excute」。

点击「Finish」。

配置Smaple and Examples5.6.26
点击「Next」,开始配置「Smaple and Examples5.6.26」。

测试是否能正常的连接MySQL数据库。

确认显示「Connection succesful」之后,点击「Next」。

点击「Excute」。

点击「Finish」。

完成「Product Configuration」,点击「Next」。
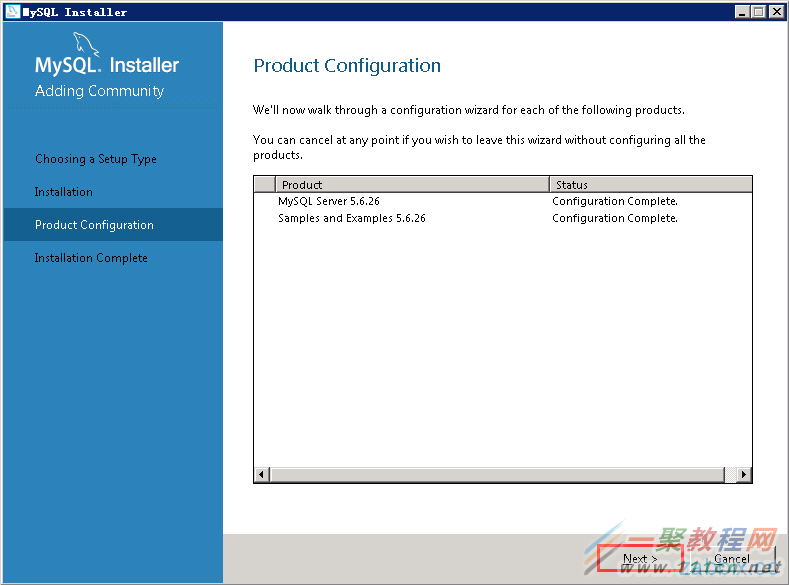
点击「Finish」。

通过以上操作,完成了MySQL安装及初期配置。
3) 常见问题
安装MySQL5.6.26时,如出现一下警告页面,需下载「Microsoft .NET Framework 4 Client Profile」。
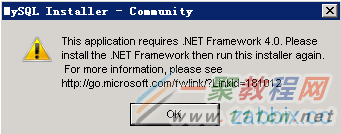
访问以下微软官网。
http://www.microsoft.com/zh-CN/download/details.aspx?id=17113
语言选择「中文(简体)」点击「下载」。

点击「不用了,谢谢,请继续」。

双击下载的「dotNetFx40_Client_setup.exe」文件,开始安装。勾选「我已阅读并接受许可条款」之后,点击「安装」。

安装中的页面如下。
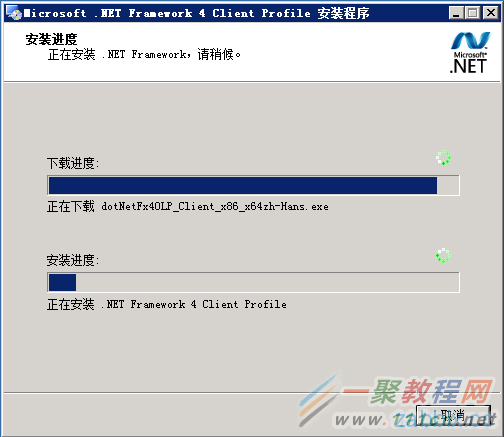
点击「完成」。

相关文章
- Windows下安装python MySQLdb遇到的问题及解决方法 07-03
- windows下mysql5.7安装教程 12-19
- win7下MySQL 5.5.29安装失败解决方法 10-28
- windows(32位 64位)下python安装mysqldb模块 04-04
- windows下mysql安装图文教程 05-12
- windows下安装、卸载mysql服务 01-24