


最新下载


热门教程
- 1
- 2
- 3
- 4
- 5
- 6
- 7
- 8
- 9
- 10
PHP实现异步延迟消息队列方法介绍
时间:2022-10-13 编辑:坚强 来源:一聚教程网
本文为小伙伴们带来了关于PHP实现异步延迟消息队列方法介绍,感兴趣的小伙伴一起来看看吧。
一、前言
需求:电商秒杀场景中,如果用户下单10分钟未支付,需要进行库存归还
本篇是用PHP+Laravel+RabbitMQ来实现异步延迟消息队列
二、场景
在电商项目中,当我们下单之后,一般需要 20 分钟之内或者 30 分钟之内付款,否则订单就会进入异常处理逻辑中,被取消,那么进入到异常处理逻辑中,就可以当成是一个延迟队列
公司的会议预定系统,在会议预定成功后,会在会议开始前半小时通知所有预定该会议的用户
安全工单超过 24 小时未处理,则自动拉企业微信群提醒相关责任人
用户下单外卖以后,距离超时时间还有 10 分钟时提醒外卖小哥即将超时
…
很多场景下我们都需要延迟队列。
本文以 RabbitMQ 为例来和大家聊一聊延迟队列的玩法。
使用 RabbitMQ 的 rabbitmq_delayed_message_exchange 插件来实现定时任务,这种方案较简单。
三、安装RabbitMQ延迟队列插件
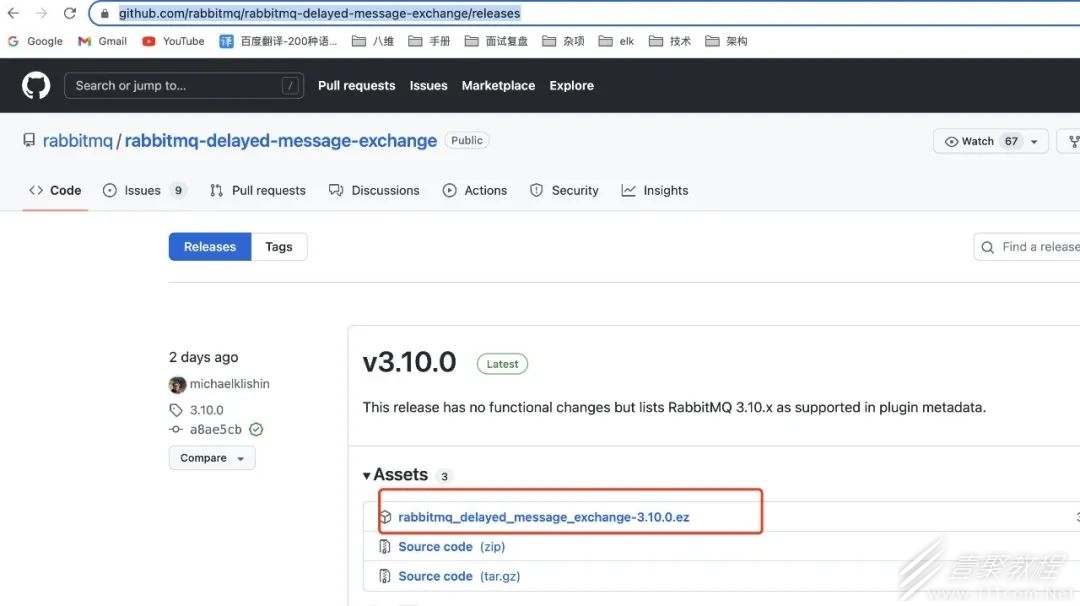
官网插件
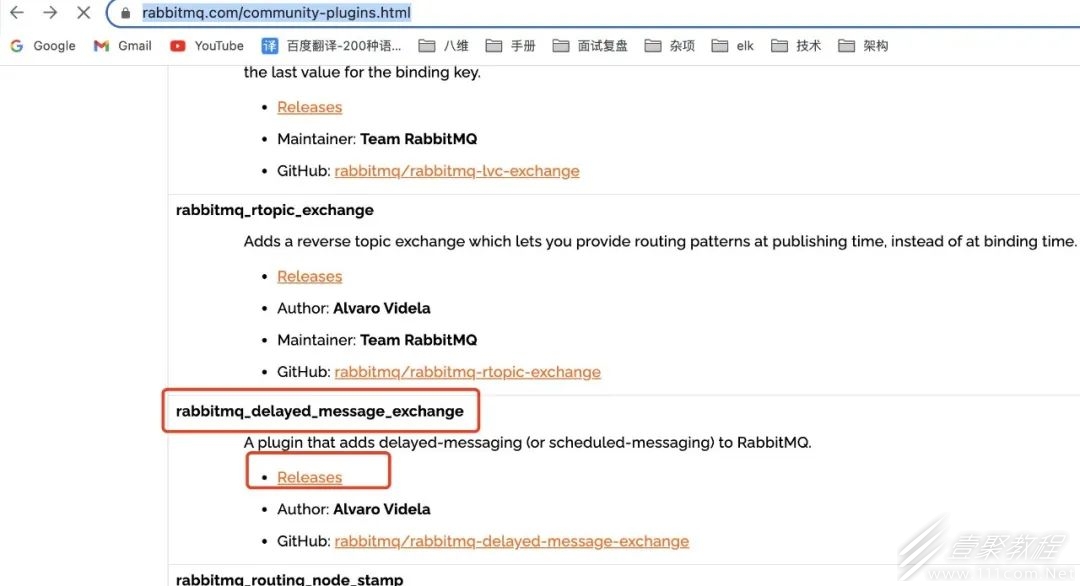
我这里直接下载了最新版本,你们根据自己的rabbitmq版本号进行下载
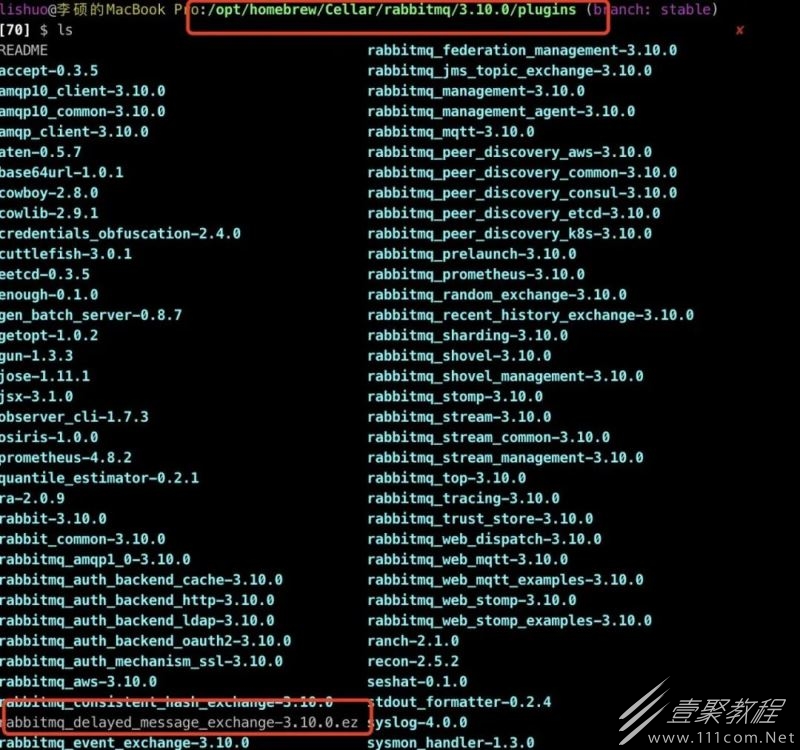
把下载好的文件移动到rabbitmq的插件plugins下,以我自己的Mac为例子,放到了如下路径
然后执行安装插件指令,如下
rabbitmq-plugins enable rabbitmq_delayed_message_exchange
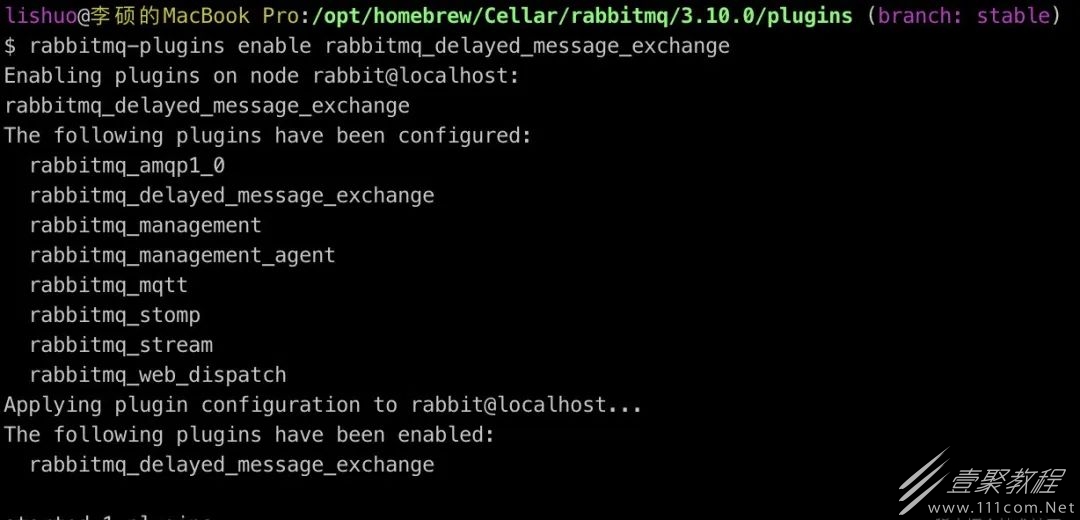
最后重启rabbitmq服务,并刷新查看exchanges交换机有没有该插件
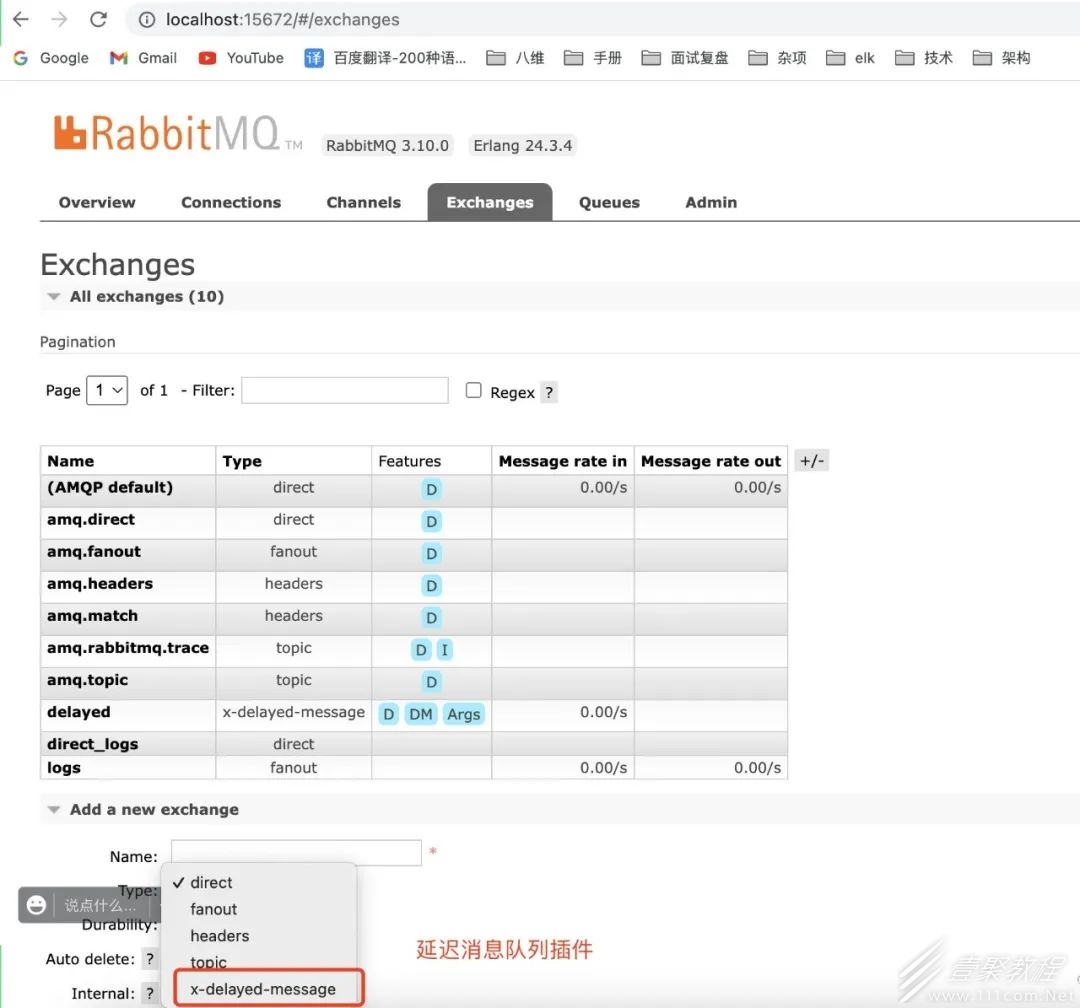
如上图则延迟消息队列插件安装完成
四、在Laravel框架中进行使用
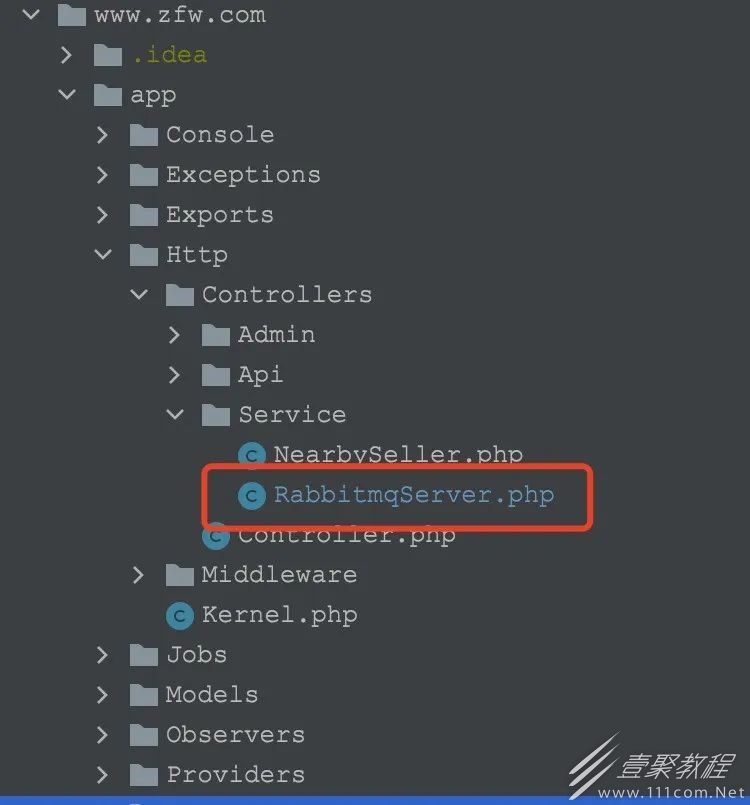
新建rabbitmq服务类,包含延迟消息队列生产消息,和消费消息,如下
代码如下:
connection = new AMQPStreamConnection($this->host, $this->port, $this->user, $this->password);
        $this->channel = $this->connection->channel();
        // 声明Exchange
        $this->channel->exchange_declare($this->exchange_delayed, self::EXCHANGETYPE_DELAYED, false, true, false, false, false, new AMQPTable(["x-delayed-type" => self::EXCHANGETYPE_DIRECT]));
        $this->channel->queue_declare($this->queue_delayed, false, true, false, false);
        $this->channel->queue_bind($this->queue_delayed, $this->exchange_delayed, $this->queue_delayed);
    }

    /**
     * delay creat message
     */
    public function createMessageDelay($msg, $time)
{
        $delayConfig = [
            'delivery_mode' => AMQPMessage::DELIVERY_MODE_PERSISTENT,
            'application_headers' => new AMQPTable(['x-delay' => $time * 1000])
        ];
        $msg = new AMQPMessage($msg, $delayConfig);
        return $msg;
    }

    /**
     * delay send message
     */
    public function sendDelay($msg, $time = self::TIMEOUT_10_S)
{
        $msg = $this->createMessageDelay($msg, $time);;
        $this->channel->basic_publish($msg, $this->exchange_delayed, $this->queue_delayed);
        $this->channel->close();
        $this->connection->close();
    }

    /**
     * delay consum
     */
    public function consumDelay()
{
        $callback = function ($msg) {
            echo ' [x] ', $msg->body, "n";
            $this->channel->basic_ack($msg->delivery_info['delivery_tag'], false);
        };
        $this->channel->basic_qos(null, 1, null);
        $this->channel->basic_consume($this->queue_delayed, '', false, false, false, false, $callback);
        echo ' [*] Waiting for logs. To exit press CTRL+C', "n";
        while (count($this->channel->callbacks)) {
            $this->channel->wait();
        }

        $this->channel->close();
        $this->connection->close();
    }
}
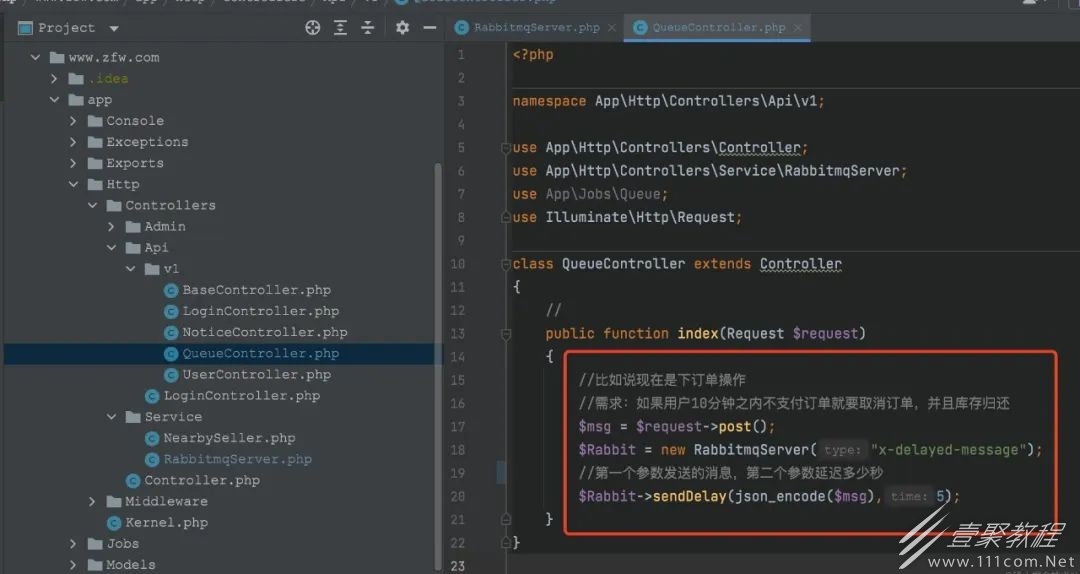
比如新建QueueController控制器,进行测试生产消息放到延迟消息队列中
代码如下:
post();
        $Rabbit = new RabbitmqServer("x-delayed-message");
        //第一个参数发送的消息,第二个参数延迟多少秒
        $Rabbit->sendDelay(json_encode($msg),5);
    }
}
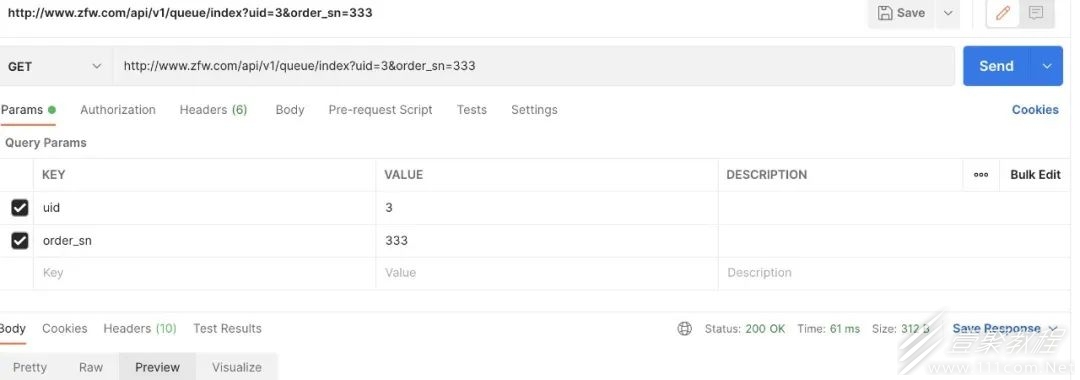
至此通过接口调试工具进行模拟生产消息即可
消息生产完毕要进行消费,这里使用的是Laravel的任务调度,代码如下
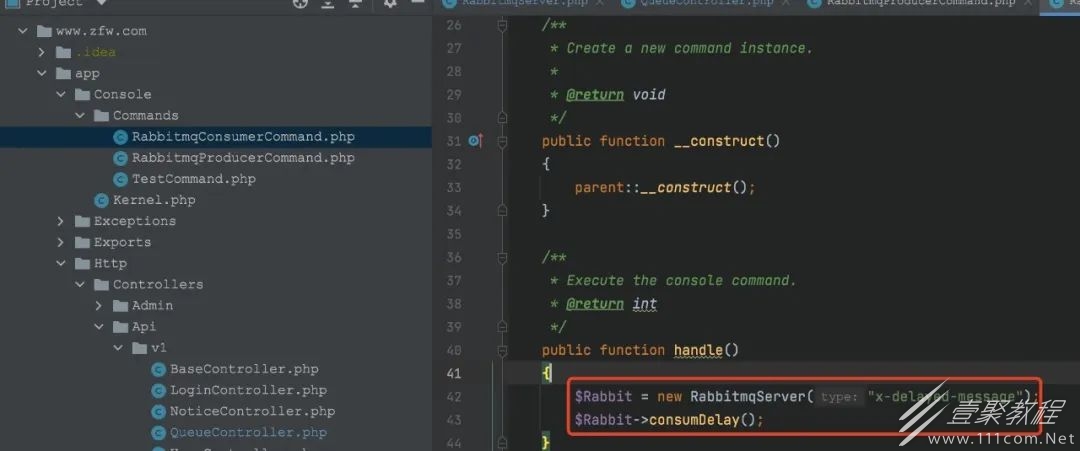
consumDelay();
    }
}
五、执行生产消息和消费消息
用postman模拟生产消息,效果如下:
然后消费消息,用一下命令,如果延迟5秒执行消费则成功
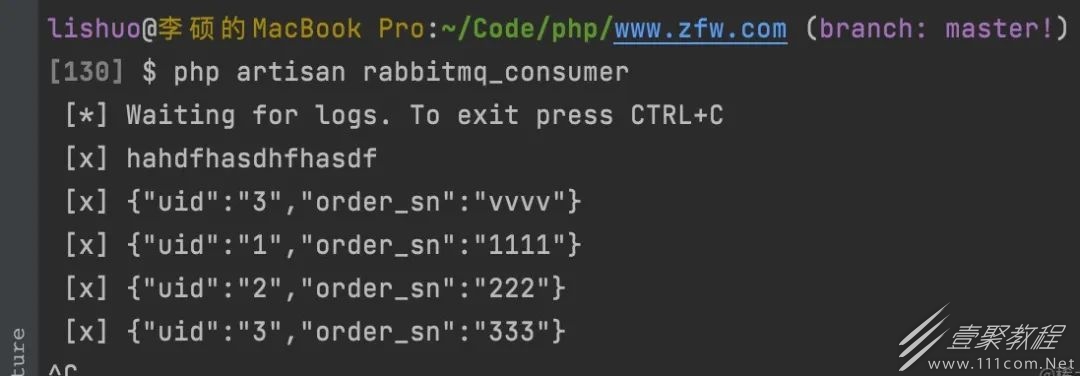
至此,就完成了rabbitmq异步延迟消息队列
-
上一个: PHP面向对象之封装,继承与多态介绍
-
下一个: PHP常见方法封装介绍
相关文章
- PHP导出数据超时的优化建议解读 10-31
- PHP之mysql位运算解析 10-31
- Laravel实现登录跳转功能解析 10-31
- php双向队列解读 10-31
- Laravel异常上下文解决教程 10-24
- php数组查询元素位置方法介绍 10-24