


最新下载


热门教程
- 1
- 2
- 3
- 4
- 5
- 6
- 7
- 8
- 9
- 10
css3手动实现pc端横向滚动代码示例
时间:2022-06-28 编辑:袖梨 来源:一聚教程网
本篇文章小编给大家分享一下css3手动实现pc端横向滚动代码示例,文章代码介绍的很详细,小编觉得挺不错的,现在分享给大家供大家参考,有需要的小伙伴们可以来看看。
由于容器隐藏横向滚动条后,移动端横向滚动效果不受影响,但是pc端是无法通过鼠标进行横向滚动,因此需要自己手动实现效果。
draggable="false",通过设置draggable,是可以设置html不允许拖拽效果,通过拖拽可以初步实现pc端横向滚动行为。
draggable的兼容性是最好HTML属性
css样式-webkit-user-drag: none;也可以实现类似效果,兼容性不太好,移动效果大部份都有效
user-select:属性可以设置是否允许用户选择页面中的图文内容
mousedown和mouseup:通过设置鼠标事件,实现鼠标按下后,坐标位置不一样,让容器调用scrollTo就可以实现滚动效果。
wheel:通过滚动事件,在容器内滚动滚轴可以横向滚动
getBoundingClientRect,记录每个图标的x位置,通过前后位置是否变化,如果不变化,鼠标单击的时候就可以触发单击事件。因为mousedown事件发生也会触发click事件
class Scroller {
    init() {
        this.setDragWheelEvent(".gameShow");
        this.setDragScrollEvent(".gameShow");
        this.initClick();
    }
    throttle(fn, wait) {
        let inThrottle, lastFn, lastTime;
        return function () {
            const context = this, args = arguments;
            if (!inThrottle) {
                fn.apply(context, args);
                lastTime = Date.now();
                inThrottle = true;
            } else {
                clearTimeout(lastFn);
                lastFn = setTimeout(function () {
                    if (Date.now() - lastTime >= wait) {
                        fn.apply(context, args);
                        lastTime = Date.now();
                    }
                }, Math.max(wait - (Date.now() - lastTime), 0));
            }
        };
    }
    setDragWheelEvent(selector) {
        const gameShowEle = document.querySelector(selector);
        gameShowEle.addEventListener("wheel", (event) => {
            event.preventDefault();
            gameShowEle.scrollLeft += event.deltaY;
        });
    }
    setDragScrollEvent(selector) {
        const gameShowEle = document.querySelector(selector);
        let left = 0;
        let oldLeft = 0;
        const move = this.throttle((event) => {
            let x = left + (oldLeft - event.clientX)
            if (x < 0) x = 0;
            gameShowEle.scrollTo(x, 0)
        }, 100)
        gameShowEle.addEventListener('mousedown', function (event) {
            gameShowEle.style.cursor = 'grabbing';
            gameShowEle.style.userSelect = 'none';
            oldLeft = event.clientX;
            left = gameShowEle.scrollLeft;
            document.addEventListener('mousemove', move)
        });
        document.addEventListener('mouseup', function () {
            gameShowEle.style.cursor = 'pointer';
            gameShowEle.style.removeProperty('user-select');
            document.removeEventListener('mousemove', move)
        })
    }
     isMobile() {
                    return window.navigator.userAgent.match(
                        /(phone|pad|pod|iPhone|iPod|ios|iPad|Android|Mobile|Symbian|Windows Phone)/i
                );
     }
    initClick() {
        const imgSpaceEles = document.querySelectorAll(".imgSpace");
        if (imgSpaceEles) {
            const xAarry = [];
            Array.from(imgSpaceEles).forEach((imgSpaceEle, index) => {
                const href = imgSpaceEle.getAttribute("url");
                let { x } = imgSpaceEle.getBoundingClientRect();
                xAarry.push(x);
                imgSpaceEle.addEventListener("click", () => {
                    let { x: newx } = imgSpaceEle.getBoundingClientRect();
                    if (xAarry[index] == newx || this.isMobile()) {
                       alert(href)
                    }
                    xAarry.forEach((m, i) => {
                        const ele = imgSpaceEles[i];
                        const site = ele.getBoundingClientRect();
                        xAarry[i] = site.x
                    })
                })
            })
        }
    }
}
window.onload = () => {
    const scroller = new Scroller()
    scroller.init();
}
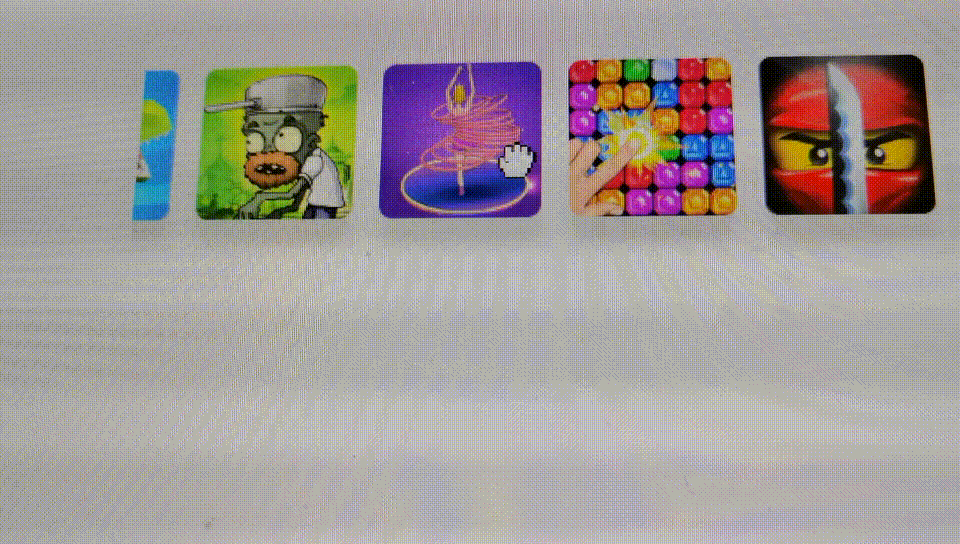
最终实现的效果,如下图:
相关文章
- css3中仿放大镜效果的几种方式原理介绍 10-26
- CSS3切割轮播图的代码展示 10-26
- css3制作背景渐变动画效果教程 10-26
- CSS3呈现的定价表 09-16
- CSS3如何制作彩虹按钮样式 09-16
- CSS3图片悬停的切换按钮介绍 09-16